Tuesday, May 8, 2012

Ooo Ooo Ahhh Ahh MONKEY BREAD!

When I first saw this recipe, the name caught me! Monkey Bread.... what a strange name? What is it? It's not shaped like a monkey.. do monkey's eat it? hehe.. so I wikied it and found out the reason why it is called monkey bread! Firstly because the bread looks like a monkey puzzle tree (who knows what that looks like =S) and secondly because of the way you eat the bread is similar to monkeys - pulling apart each piece. It was a cute name and the photos from Dailydelicious looked too good to resist!


So here is the recipe for:

MONKEY BREAD (recipe adapted from Dailydelicious)

Ingredients
240g plain flour
60g self raising flour
7g (1 sachet) yeast
20g caster sugar
pinch of salt
1 egg yolk
175ml warm water
20g butter

40g melted butter
40g walnuts
70g brown sugar
1 egg white

1. Mix egg yolk and water together.
2. Place flours, sugar and yeast in a bowl and mix to combine. Add salt and mix again. Pour egg and water mixture into the bowl.
3. Mix ingredient together and knead to bring to form a dough. Add more water if dough is too dry. Knead dough for around 2 minutes until it is elastic.
4. Add butter and knead the dough for around 10-15 minutes until dough is soft, pliable, smooth and slightly shiny.
5. Place dough in lightly oiled bowl and allow to rise in a warm place until double in size (1 - 11/2 hours).
6. Place walnuts and brown sugar in a food processor until powdery.
7. Preheat oven to 180oC and grease tube pan.
8. Take dough out of the bowl and deflate by lightly touching it.
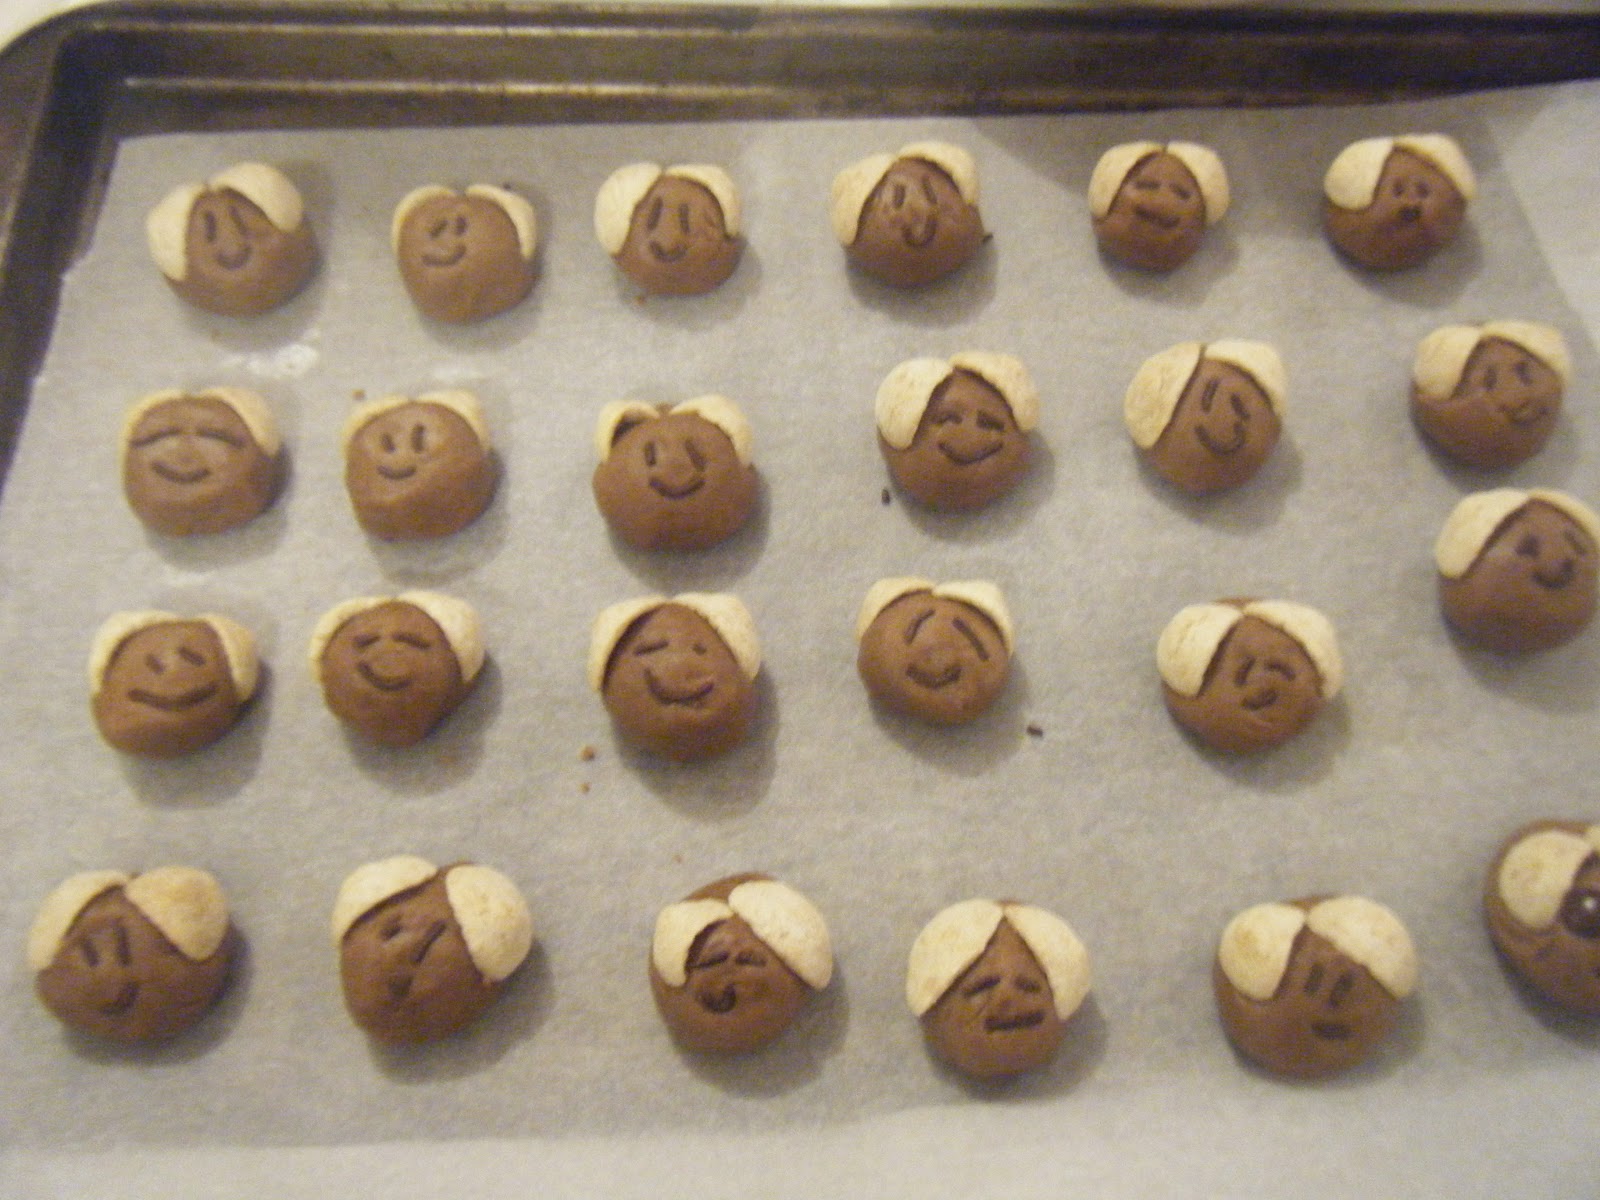
9. Cut dough into 30 pieces and roll into balls.
10. Dip balls into melted butter, nut mixture and egg white, then place in prepared pan.
bread balls --> melted butter--> nut mix --> egg white
Bite size pieces! YUM!
11. Let dough rise (40-50minutes) or until double in size. Bake for 30-35 minutes. Cover with aluminium foil if top of bread becomes too brown.
Pull apart bread~~ like a monkey xD
The bread turned out nice, soft and sweet and nutty ^^ I think next time I would put some filling inside the bread balls such as jam or chocolate, just for a nice surprise :)

Friday, May 4, 2012

Wedding event baking~ Special guest: Debby from Bluebakeblog!!

Hi everyone!! I'm so happy that I got the chance to bake with DEBBY of bluebakeblog =) So she is my special guest for this blog entry today!
It's been just over a month since we baked for her cousin's wedding - but only now that I blogged about it =_=" It was really fun to bake for an event! Debby had a really good idea to make cookies on a stick using her Milo Doggie Cookies recipe but instead of making dog faces, we made bride and groom faces! =) It was a bit of improvisation.. but hey! that's what baking is all about! Being creative and trying new things~

Baker Debby in action~~

So I'll just share the recipe with all of you or you can visit bluebakeblog =)

Malt Bride & Groom cookies

Ingredients
180g butter, softened at room temperature
80g malt
200g cake flour
25g corn flour
25g milk powder
Chocolate chips
Chocolate sprinkles
Milo cereal (duo - so white and brown colours ^^)

Ingredients and equiipment all ready to go~~
1. Preheat oven to 140oC. Line baking trays with baking paper and set aside. Soak wooden skewers in water.
2. Sift cake flour, corn flour and milk powder.
3. Cream butter and malt for ~3 minutes. Do not overbeat.
4. Add in the flours and beat to form a dough - it may be easier to just mix with a spoon if you don't want flour all over your kitchen floor xD
5. Divide dough into round balls around the size of a 20c piece. Place on baking tray and decorate with chocolate sprinkles (for eyes and mouth) and milo cereal for hair. Just BE CREATIVE! Insert skewers into cookies.
6. Bake for ~25 minutes. Leave to cool on wire rack.
Its the groom! he is happy ^u^
The brides~
Cookies on a stick~~

Baking with friends is so much fun! hope to do it again some time :)

Tuesday, April 24, 2012

the CRAB CAKE!

When my colleague walked in the office holding this cake... My jaw dropped in awe!!! it was so AWESOME! I think she realised as well because she said "look at your face!" HAHHA Well who wouldn't have that expression when you saw this cake! It looked like a REAL CRAB!!! I think she should be a professional cake decorator! ;)
So much detail went into the decorating!! Look at the different tones of orange!
Although she didn't actually make the cake or icing from scratch, there is a lot of skill in shaping and painting it to look like a crab. She used mini jam rolls for the cake and pre-made frosting to decorate the cake. Then used a paintbrush and food dye to get the great colours :D


I made some fishyrons to go with the cake~

Poor fishies going to get eaten by Mr crab ><
Oh and if you are wondering.. why a crab of all things? This cake was for a friend as a congratulations on getting an award =) She is researching on Shellfish allergy, hence the crab!

Friday, April 20, 2012

Green tea layered cake

So this month's Aspiring Baker's theme is "layered cakes", hosted by Sam of Sweet Sensations, something I don't often bake so thought that this would be a good challenge! I think the last layered cake I made was a Victorian sponge cake.. and before that an Opera Gateau. So, to try something different I started looking up recipes for Green tea layered cake. The recipe I chose looked quite simple (haha! yes I go for easy and simple recipes =p) and in the end tasted pretty good. It didn't turn out as "green" as I would like and an aunty even commented "Is it green tea flavour? Why is it brown?" >_< but I think maybe I didn't add enough green tea or maybe other's put green tea colouring.


Well the icing was green =p and the cake was nice and moist as well :) It was lots of fun! Here's the recipe so you can try it out as well! I don't think this is limited to green tea flavour, you can add cocoa powder for chocolate, or vanilla essence or even do different colours! Have a go!

Green tea layered cake
Recipe adapted from www.greenteatoday.com/recipes/green-tea-cake-recipe

Ingredients
1 cup plain flour
1 cup self-raising flour
1 tsp salt
1 tsp bicarb soda
5 tsp green tea powder (add more for a more pronounced flavour!!)
1 1/4 cups caster sugar
1 cup vegetable oil
1 cup yoghurt (I didn't have any so substituted this with 3/4 cup milk)
2 tsp vanilla essence
3 eggs

Green tea icing (double or even triple this for thicker layers of frosting)

1 1/4 cups icing sugar
2 tablespoons margarine, soft
2 teaspoons green tea powder

1. Preheat oven to 180oC. Grease and line round cake tin.
2. Sift flours, bicarb soda, salt and green tea powder into large bowl.
3. In another bowl, beat sugar, oil and eggs until smooth. Stir in vanilla essence.
4. Gradually beat in the flour mixture, alternating with the milk.
5. Mix well and pour batter into prepared cake tin. Bake ~50-60 minutes or until skewer inserted into the center comes out clean.
6. Cool cake on cake rack for ~30 minutes before slicing.
Looks nice just as it actually =p
7. Meanwhile, make green tea icing by beating icing sugar, margarine and green tea powder together until smooth. Keep in fridge till use.
8. Slice cake into 3 even layers.
3 even layers~ I even used a ruler!! ^^
 9. Spread icing on bottom layer and top with second layer. Ice second layer and sift over green tea powder. Add final layer, spread over icing. Sift over green tea powder and white chocolate ganache (i had some leftover so might as well put it to use =p).

First layer iced~
Second layer iced and sprinked with green tea powder~ just for some extra flavour~
Complete! Drizzle with white chocolate ganache for extra drippy effect :P


Slice for you!!!!

Tuesday, April 10, 2012

Take 2!

There are many times when I have tried out a recipe and failed (yes! it's true!) or it doesn't turn out quite as expected. There are always room for improvements and so this blog entry is dedicated to my second attempts and 2 particular recipes: the cantonese egg tart and banana bread. If you recall from my previous blog about egg tarts, I didn't have the proper egg tart tins so they didn't turn out so well. The pastry was quite thick and the tarts didn't look very presentable.. BUT thanks to K who bought the egg tart tins for me from Hong Kong~~ we were able to bake them again =)
You can find the recipe for cantonese egg tarts here.
Baking in the oven~~

Ta da~~ done ^_^ they could have been a bit more brown...

but they tasted delicious :D
My first attempt at banana bread did go quite well but it didn't look that great. So when I tried again I decided to decorate the top with sliced bananas and a few oats! Much better :) You can find the recipe for banana bread here.
Cooling in the tin~~
Mmm.. I can smell the banana ~~
sliced up! you can see the chunks of banana goodness ^^
So when you think u have failed.. just try again :) I mean.. that's what baking is about yeh? Experimenting.. trying out new recipes... and improving them!

Monday, April 9, 2012

Baking with weetbix ~

I think I have been in a loaf/bread phase because apart from macarons, that's what I have been baking ^_^ They are very simple to make because there is no "creaming" method involved. Just throw all ingredients in a bowl.. mix mix mix.. pop it into the oven and hope it turns out alright =p
Looks so healthy right?
I guess you are thinking HUH!? You can bake with Weetbix!?? well apparently you can ^^" I found this recipe on the side of a weetbix box. Actually it was a Coles brand whole wheat biscuit cereal. My mum who usually eats Weetbix for breakfast said that the Coles brand tasted different so I thought.. hm.. maybe if no one is going to eat it I can use it to BAKE ^__^

So here is the recipe! The original recipe was for banana and date loaf but i didn't have any dates so substituted with cranberries =) I think any dried fruit would be good :)


Banana and cranberry loaf


Ingredients
5 whole wheat biscuits, crushed
1 1/2 cups self-raising flour, sifted
1/2 cup firmly packed brown sugar
3/4 cup dried cranberries
2 ripe bananas, mashed + 1/2 banana sliced for decoration
1 tsp cinnamon
1 cup milk
1 large egg lightly beaten

1. Preheat oven to 180oC. Grease and line loaf tin.
2. Combine wheat biscuits, flour, sugar, cranberries, banana and cinnamon in large bowl. Mix in milk and egg until well combined.
3. Spoon into lined loaf tin and decorate sliced banana on top. Sprinkle a few crushed wheat biscuits on top and bake for 45-50 minutes or until skewer inserted in the centre comes out clean.
Decorated with bananas ^^
sliced up and ready to eat =D
Surprisingly a tasty loaf and healthy too! You wouldn't even realise there were weetbix in there! (my colleagues couldn't either ^^)

Tuesday, April 3, 2012

Pop Pop Pop!

Poppy seeds are a great baking ingredient! Whether they are in cakes or muffins or sprinkled on top of bread buns, they give a great texture of crunch and POP! =D One of the items on my "invisible-in-my-head" to bake list was an orange and poppy seed cake. I had been looking up a few recipes but none that I really liked (most of them used heaps of butter). Then one day a friend of mine posted a pic of some orange and poppy seed muffins she had baked! they looked perfect and she told me they didn't use butter but oil! the recipe looked quite simple so I decided to give it a go =D

Orange and poppy seed muffins
Recipe adapted from Cooking for One

Finished product =D
Ingredients
2 cups plain flour
4 tsp baking powder
3/4 cup lightly packed brown sugar
1 egg
1/2 cup oil (I used canola oil but I'm sure vegetable or any other oil is fine)
1 cup milk
1 whole orange
1 tbs poppy seeds
1.  Preheat oven to 200oC. Lightly grease 12 hole muffin tin.
2. Place orange in pot of boiling water and boil for 15 minutes. Take orange out of water and place in another pot of boiling water for another 15 minutes. Take out orange and allow to cool down.
3. Place flour in a bowl. Stir in baking powder, poppy seeds and sugar.
4. Whisk oil, egg and milk gently in separate jug. 
5. Chop cooked orange into small pieces and use stick blender to blend orange. If you don't own a stick blender you can manually chop orange into smaller pieces (I was lazy so I did this =p)
6.Stir oil and milk mixture into dry mixture and add chopped orange. Do not overbeat or muffins will be tough.
7. Pour muffin mix into muffin pan. Bake for ~25 minutes or until skewer inserted into the middle comes out clean.
8. Remove from oven and allow to cool.


Mmmm tastes best straight out of the oven ^_^
You can serve with cream cheese icing but they do taste quite nice just the way they are. If you don't have that big a sweet tooth, these muffins are just for you! not too sweet but lovely crunch of poppy seeds and orange flavour =)

cooling in muffin tin~

I am still looking for a good orange and poppy seed cake recipe so if you know any that you would like me to try out, just leave a comment ^__^ I'm happy to take any requests!!