Showing posts with label cookies. Show all posts

Tuesday, July 14, 2020

Brownie Cookies! - Baking with Tray ep. 9

Hi everyone! 

Had a fun bake session with my niece today ^^ This recipe was really good for kids! Super simple and the hardest thing was probably microwaving the butter and chocolate. All you need is just need one bowl and one spoon! 
These cookies were a great texture: nice and chewy! I sprinkled the top with a bit of salt and that just took the flavour to the next level. As it's school holidays at the moment, maybe you can make these with your kids!

Brownie Cookies
Recipe by Sweetest Menu

Ingredients
150g dark chocolate melts (a block of eating chocolate also works)
75g unsalted butter
200g caster sugar (*EDIT: I made these again recently and reduced the sugar to 180g and it was still nice and sweet)
2 large eggs
105g plain flour
40g cocoa powder
1/2 tsp baking powder
pinch of salt
75g chocolate chips

1. Preheat oven to 180oC (normal oven) or 160oC (fan-forced). Line 2 baking trays with baking paper.
2. Place butter and dark chocolate in large microwave safe bowl. Microwave in 30 second bursts, mixing in between until melted and smooth.
3. Add sugar and mix together. Add in eggs one at a time, mixing after eat addition until well incorporated.
4. Add flour, cocoa powder, baking powder and salt. Stir until smooth.
5. Add chocolate chips and mix well.
6. Spoon tablespoonful of mix onto baking tray (I used a cookie scoop/ice-cream scoop and it was really useful!). Make sure you leave enough room for the cookies to spread. Bake for 13-14 minutes until cookies have spread and cracked on top.
7. Leave cookies on tray to cool completely to cool before eating (I know it can be hard waiting but it's worth it!!). Sprinkle with a bit of salt and enjoy!

If you have a sweet craving, these are quick to make and will definitely satisfy those cravings!


Happy Baking!! Till the next episode... :)

Thursday, March 2, 2017

Cafe style cookies

I was asked to make some cookies to sell at the Cafe that I work at and I was SUPER EXCITED :D First time something I have baked was going to be sold in a cafe! I wanted to make a decent sized cookie that looked appetising and found this recipe!

White Chocolate and Cranberry Cookies
Recipe adapted from Allrecipes
Ingredients
1/2 cup (113g) unsalted butter, softened
1/2 cup packed brown sugar
1/2 cup caster sugar
1 egg
1 1/2 cups plain flour
1/2 tsp vanilla essence
1/2 tsp baking soda
3/4 cup white chocolate chips
1 cup dried cranberries
1/2 cup white chocolate melts

1. Preheat oven to 190oC. Line 2 baking trays with baking paper.
2. In a large bowl, cream together the butter and both sugars until smooth. Beat in the egg and vanilla essence. 
3. Combine the flour and baking soda. Stir into the butter-sugar mixture. Mix in chocolate chips and cranberries. 
4. Roll 1 tablespoon of dough into a ball and place on baking tray. Complete with the rest of the mixture making sure to leave room for the cookies to spread.
5. Bake for 8-10 minutes. Allow cookies to cool on baking tray before transferring to wire racks to cool completely.
6. Melt white chocolate melts in a small bowl in microwave. Transfer to a piping bag and pipe patterns on to the cookies.

I also made double chocolate chip cookies by replacing the cranberries with dark chocolate chips.

Sad news is.... Only one sold in the first week :( I think the market wasn't there... the cafe's main customers are office workers and I think they prefer muffins and cakes. But its ok! I got some experience and maybe next time I can bake other things :)

The cookies still tasted delicious so if you want cafe style cookies at home then try these =)

Tuesday, February 7, 2017

Matcha Love!

I love MATCHA!!! I have probably mentioned on my blog before but I'll say it again!! Matcha is awesome!! It has become quite a food trend over the last year or so (good for me! ^^) and I found an awesome recipe that is quick, easy and DELICIOUS! It's similar to the recipe I have previously tried (link here) but this recipe adds ground almonds which definitely adds to the texture. The original recipe also used white chocolate chips but I didn't have any and forgot to get some at the shops so just used dark chocolate chips~ still tasted nice though.

The dough can be made hours, days or weeks (up to 8 weeks) in advance then taken out of the freezer to slice and bake whenever you have that cookie craving (everyday for me! ><)


Matcha Chocolate Chip Cookies
Recipe adapted from The MeatMen

Ingredients
180g unsalted butter (room temperature)
140g icing sugar
1/4 tsp salt
2 egg yolks
40g ground almonds/almond meal
240g plain flour
20g matcha powder
60g chocolate chips

1. Sift plain flour and matcha powder together and set aside.
2. In another bowl, cream together the butter and icing sugar using an electric beater until light and fluffy.
3. Add salt and egg yolks and mix until combined.
4. Mix in ground almonds until well combined.
5. Gradually add in the flour and matcha and mix well.
6. Stir in the chocolate chips. 
7. Divide the dough into 2 portions. Shape the dough into logs (4cm diameter), wrap with cling wrap and refrigerate for at least 2 hours.
8. Preheat oven to 165oC and line 2 baking trays with baking paper. Cut dough into 5mm thick slices and arrange on baking tray.
9. Bake for 10 minutes or until slightly golden. Rest on baking tray for 10 minutes before transferring to wire rack to cool. 
I'm loving my fish plate ^^

Try it out~ Happy baking!!!

Exciting news too! Just recently got a part time job at a little cafe/sandwich bar/catering company thank God!! First day of work is today!! One step closer to my baking dream :) 

Sunday, June 1, 2014

Work Catering #44: Cookie Dough Brownies!

How did I not discover this before!? Cookie Dough + Brownies :D :D!! Another brownie variation ^^" I do like finding different brownie recipes.. adding berries, nuts, cream cheese... and now COOKIE DOUGH :D The cookie dough is raw but don't be afraid because it's eggless and acts like a frosting for the brownies.

Cookie Dough Brownies
Recipe adapted from The Baker Upstairs


Ingredients
Brownies
1/2 cup (113g) salted butter
225g dark chocolate
1 cup caster sugar
3 large eggs
1 tsp vanilla essence
3/4 cup plain flour
1/4 tsp salt

1. Preheat oven to 180oC. Grease and line rectangle baking pan (20x30cm).
2. Melt butter and chocolate in medium saucepan on medium heat, stirring constantly. Remove from heat and let cool to room temperature.
3. Stir in sugar into cooled mixture until combined. Add in eggs one at a time, mixing until fully incorporated. Mix in vanilla.
4. Gently fold in flour and salt. Pour batter into prepared pan, smoothing the top with a knife.
5. Bake for ~30 minutes or until toothpick comes out clean (it's better to underbake these brownies than overbake as they will turn out too dry).

Cookie dough
3/4 cup (170g) unsalted butter
3/4 cup brown sugar
3/4 cup caster sugar
3 tbs milk
1 1/2 tsp vanilla essence
1 1/2 cups plain flour
1 1/2 cups mini chocolate chips

1. Beat butter and both sugars in medium bowl with electric mixer until pale and fluffy. Add milk and vanilla and mix until combined.
2. Reduce speed to low and mix in flour until just combined. Fold in chocolate chips with spatula.
3. Spread an even layer on top of the baked brownies.
So yummy!!! it's like cookie and brownie all in one!
The chocolate chips really give great texture and flavour~
I was reading a cook book and found a recipe for some cookies! They looked really good.. simple and delicate.. so I decided to make them...

However mine didn't exactly look like the pictures in the book XD
Coconut and Chocolate Sandwich cookies
Recipe adapted from Sugar and Spice by Callie Maritz and Mari-Louis Guy

Ingredients
250g unsalted butter, softened at room temperature
1 cup (200g) caster sugar
2 1/2 cups (250g) fine desiccated coconut
2 cups (280g) plain flour
1/4 cup (30g) cocoa powder
1 tsp baking powder
100g dark chocolate, chopped + extra for decoration
80ml thickened cream

1. Preheat oven to 180oC. Line 2 baking trays with baking paper.
2. Using electric mixer, beat butter and sugar until light and creamy.
3. Add coconut, flour, cocoa and baking powder and mix through.
3. Roll the dough into about 60 balls with your hands and place on baking tray. Press each one to slightly flatten. Press a small block of chocolate into the middle of each biscuit. Bake for 15 minutes, then remove and allow the biscuits to cool completely.
4. Make chocolate ganache by melting chocolate and cream in a heat proof bowl over pot with simmering water. Allow to cool or even refrigerate to thicken.
5. Sandwich two biscuits together with chocolate ganache.
Yummy biscuits :D
OK so they don't look super pretty...
but still taste good =p

These turned out a bit bigger than I would have liked... tastewise, a little bit dry but the ganache helps with that :) It kind of tasted like an Anzac cookie because of the coconut.

More coconut recipes coming soon :D oh and brownie recipes ^_^

Wednesday, March 26, 2014

Work Catering #39: have a break! Have a KitKat .. cheesecake!

Sorry... another cheesecake post! But this one is different!! it's got KITKAT bars in it XD I have made a similar cheesecake using Tim Tams.. and Cherry Ripes. Any other suggestions for chocolate bars? =P

Also made some blueberry cookies. I always enjoy putting fruit into cookies but usually I used dried fruit however this time I tried out fresh fruit! Enjoy the recipes :D

KIT KAT Cheesecake Slice
Recipe adapted from Bakers Corner
Ingredients
250g plain chocolate biscuits
100g unsalted butter, melted
375g cream cheese, softened
1 can (395g) sweetened condensed milk
1/2 cup (125ml) thickened cream
2 tsp powdered gelatine
1 1/2 tbs boiling water
1 tsp vanilla essence
180g Kit Kat, coarsely chopped
45g Kit Kat, extra, coarsely chopped

1. Line a 20x30cm pan with foil.
2. Process/Crush chocolate biscuits until fine. Add butter and process until well combined. Press mixture firmly over the base of prepared pan. Refrigerate while making filling.
3. Beat cream cheese with electric mixer until smooth. Beat in condensed milk and cream until well combined. Dissolve gelatine in water, then add to cream cheese mix. Beat in vanilla then fold in chopped Kit Kat pieces.
4. Carefully pour mixture into prepared base. Sprinkle with extra Kit Kat pieces and refrigerate for 4 hours or overnight. Cut in squares and serve.

Look at the Kit Kat chunks!! XD
Brown Sugar Blueberry Cookies
Recipe adapted from The Baker Upstairs

Ingredients
113g butter, softened at room temperature
3/4 cup packed brown sugar
1 egg
1 tsp vanilla essence
1 3/4 cups plain flour
1/4 tsp salt
1/2 tsp baking powder
1 1/2 tsp cinnamon
1 tbs milk
3/4 cup fresh blueberries (I used frozen)

1. Preheat oven to 190oC. Line 2 baking trays with baking paper.
2. Beat butter and sugar with an electric mixer until smooth. Add egg and vanilla and mix well to combine.
3. Stir in flour, baking powder, salt and cinnamon with mixer on low speed. Mix until dough comes together then add milk. If dough still dry and crumbly, add 1 tbs milk at a time until it comes together.
4. Carefully fold in blueberries. Refrigerate for 30 minutes.
5. Remove dough from fridge. Roll teaspoonful of dough and place on baking tray. Bake for 10-12 minutes or until golden.

I'm not sure if it was because I used frozen blueberries, but the cookies were a bit soft. I think the moisture from the frozen blueberries may have softened the cookies after they were baked however the flavours were still there. It actually tasted like cookie dough so I didn't mind ^^ The cinnamon, brown sugar and blueberry went really well together.
Cookie time!

Thursday, February 13, 2014

Work Catering #37: First of 2014! A raspberry theme~

YAY! My work catering series is back!! One of the things that I have been most looking forward to at work =p (maybe im in the wrong job.. hmm..)
tasty cookies~
My bakes this week had a raspberry theme! Not sure why but I was just in the mood of using raspberries ^_^" First up is a Raspberry Cheesecake Brownies.. combining two of my favourite sweets: Cheesecake and Brownies! I found this recipe on this new blog I have been following: Sally's Baking Addiction. You guys should really check it out!!! It's such a wonderful and colourful blog and the photos just make you drroooolllll!!! and also make you want to bake (like I did XD).
Raspberry Cheesecake Brownies
Recipe adapted from Sally's Baking Addiction

Ingredients

Fudge Brownies
1/2 cup (115g) unsalted butter
225g dark chocolate melts
1 cup caster sugar
3 large eggs
1 tsp vanilla essence
3/4 cup plain flour
1/4 tsp salt

Raspberry Cheesecake Layer
250g cream cheese, softened at room temp
1/4 cup caster sugar
1 egg yolk
1/4 cup raspberry jam
1/4 cup raspberries for topping

1. Preheat oven to 180oC. Grease and line baking pan (20x30cm).
2. To make the brownies, place the butter and chocolate in medium saucepan on medium heat and stir constantly till both are melted. Remove from heat and allow to cool (~10-15 minutes should be fine).
3. Stir in sugar and mix until combined. Add in eggs one at a time, mixing until incorporated before adding next egg. Mix in vanilla. Gently fold in flour and salt. Pour batter in prepared pan.
4. To make the cheesecake layer, beat together the cream cheese and sugar with electric beater until smooth. Add in egg yolk and beat until combined. Beat in raspberry jam.
5. Dollop spoonfuls of cream cheese mixture on top of brownie batter. Glide a knife through the layers to create a swirl pattern. Sprinkle and press a few raspberries on the top.
6. Bake for ~30 minutes or until skewer inserted into the centre comes out clean. Cover the brownies after 20 minutes of baking to stop the top from over browning. Allow brownies to cool completely before cutting into squares.
Loving the layers

bright pop of rapsberries ^^
The next recipe I tried also involves raspberry jam!! They are essentially thumbprint/jam drop cookies but made up of shortbread. I have previously made jam drop cookies but wasn't too happy with the result. However this shortbread recipe was really good as the cookies did not spread so much so the jam stayed in the holes xP and it's EGG FREE!

Raspberry Shortbread Cookies
Recipe adapted from Melding Magic
Ingredients
225g butter, softened
2/3 cup caster sugar
2 cups plain flour
1/2 cup raspberry jam

Glaze
1 cup icing sugar
3 - 4 tsp warm water
1 tsp vanilla essence

1. Cream butter and sugar in large bowl with electric mixer.
2. Add in flour and beat on low speed and well combined. Cover and refrigerate for at least 1 hour.
3. Preheat oven to 180oC and line 2 baking trays with baking paper. Shape teaspoonsful of dough into balls. Place 1 inch apart onto tray. Using your thumb or end of wooden spoon handle, make an indent in the centre of each cook. Fill with jam.
Filling holes with jam
4. Bake for 14 minutes or until edges are lightly brown. Allow to cool.
Cooked cookies :D
Allowing them to cool....
5. Make glaze by mixing sugar, water and vanilla in small bowl. Drizzle over cookies.
Ready to eat :D
Close up of the drizzle! looks like white chocolate but it's not XD
Well stay tuned for more work catering bakes and other random recipes~~^_^ and try these out! they're really simple!!!!

Thursday, October 31, 2013

Work catering #34: Gluten free bake!

I received a few mini recipe books in the mail from CSR (yes the sugar brand!) because they were free!! Gotta love freebies XD anyways one of them was full of GLUTEN FREE recipes ^^ I've always wanted to bake gluten free desserts but... I was a little scared~ I mean, what happens if the utensils I use have residues of gluten then I use them to bake... then.. it wouldn't be gluten free would it?

hahha.. ok maybe I think too much ^_^" Anyways.... so here are the recipes =)
Raspberry Jam Slice
Recipe adapted from "Gluten Free Delights" by CSR

Ingredients
Base
1 cup (150g) almond meal
1/2 cup (45g) fine desiccated coconut
1 cup (150g) gluten free plain flour
1 1/4 cups (275g) Raw Caster sugar (I actually didn't like the little "crunchy" raw bits of the sugar so I think next time I will just use regular caster sugar and probably bring it down to 1 cup)
1/2 cup (125g) unsalted butter, melted
2 egg yolks
1 tsp cold water

Filling
3/4 cup raspberry jam
1/2 cup frozen raspberries

Topping
2 egg whites, lightly beaten
2 1/2 cups (215g) shredded coconut
1/3 cup (50g) soft icing sugar

1. Preheat oven to 170oC (150oC fan forced). Grease and line 20x30cm baking tray with baking paper.
2. Base: combine all dry ingredients in a large bowl. Mix the butter, yolks and water in separate small bowl. Add wet ingredients to dry ingredients and mix until well combined. [OR.... you can just put everything in a food processor if you own one ^^]. Press into tray and bake for 20 minutes or until gold brown. Allow to cool.
3. Filling: Spread jam over base then sprinkle on raspberries.
4. Topping: Combine egg whites, shredded coconut and icing sugar and mix until combined. Spread over jam and bake for 30-35 minutes or until golden.
5. Cool in pan and cut into slices.
I found the slice to be quite sweet... So that's why I suggested reducing the amount of sugar. The crunchy coconut topping was nice though :) Oh this is what it looked like in the book.

And this is what mine looked like =p

Love the redness of the jam!

Gluten Free Choc chip and coconut cookies
Recipe adapted from "Gluten Free Delights" by CSR

Ingredients
3/4 cup (185g) unsalted butter, softened at room temp
1 1/4 cup (200g) brown sugar
2 large egs
1 1/2 cups (225g) gluten free plain flour
1 tsp baking powder
1 1/2 cups (130g) desiccated coconut
1/2 cup (75g) almond meal
230g dark chocolate chips

1. Preheat oven to 200oC (180oC fan forced) and line 3 baking trays with baking paper.
2. Beat butter and sugar until pale and creamy. Add eggs one at a time, beating well after each addition.
3. Sift flour and baking powder together and add to mixture along with coconut, almond meal and choc chips. Mix until well combined. (If you find the mixture is quite wet and runny like I did, add a little more flour)
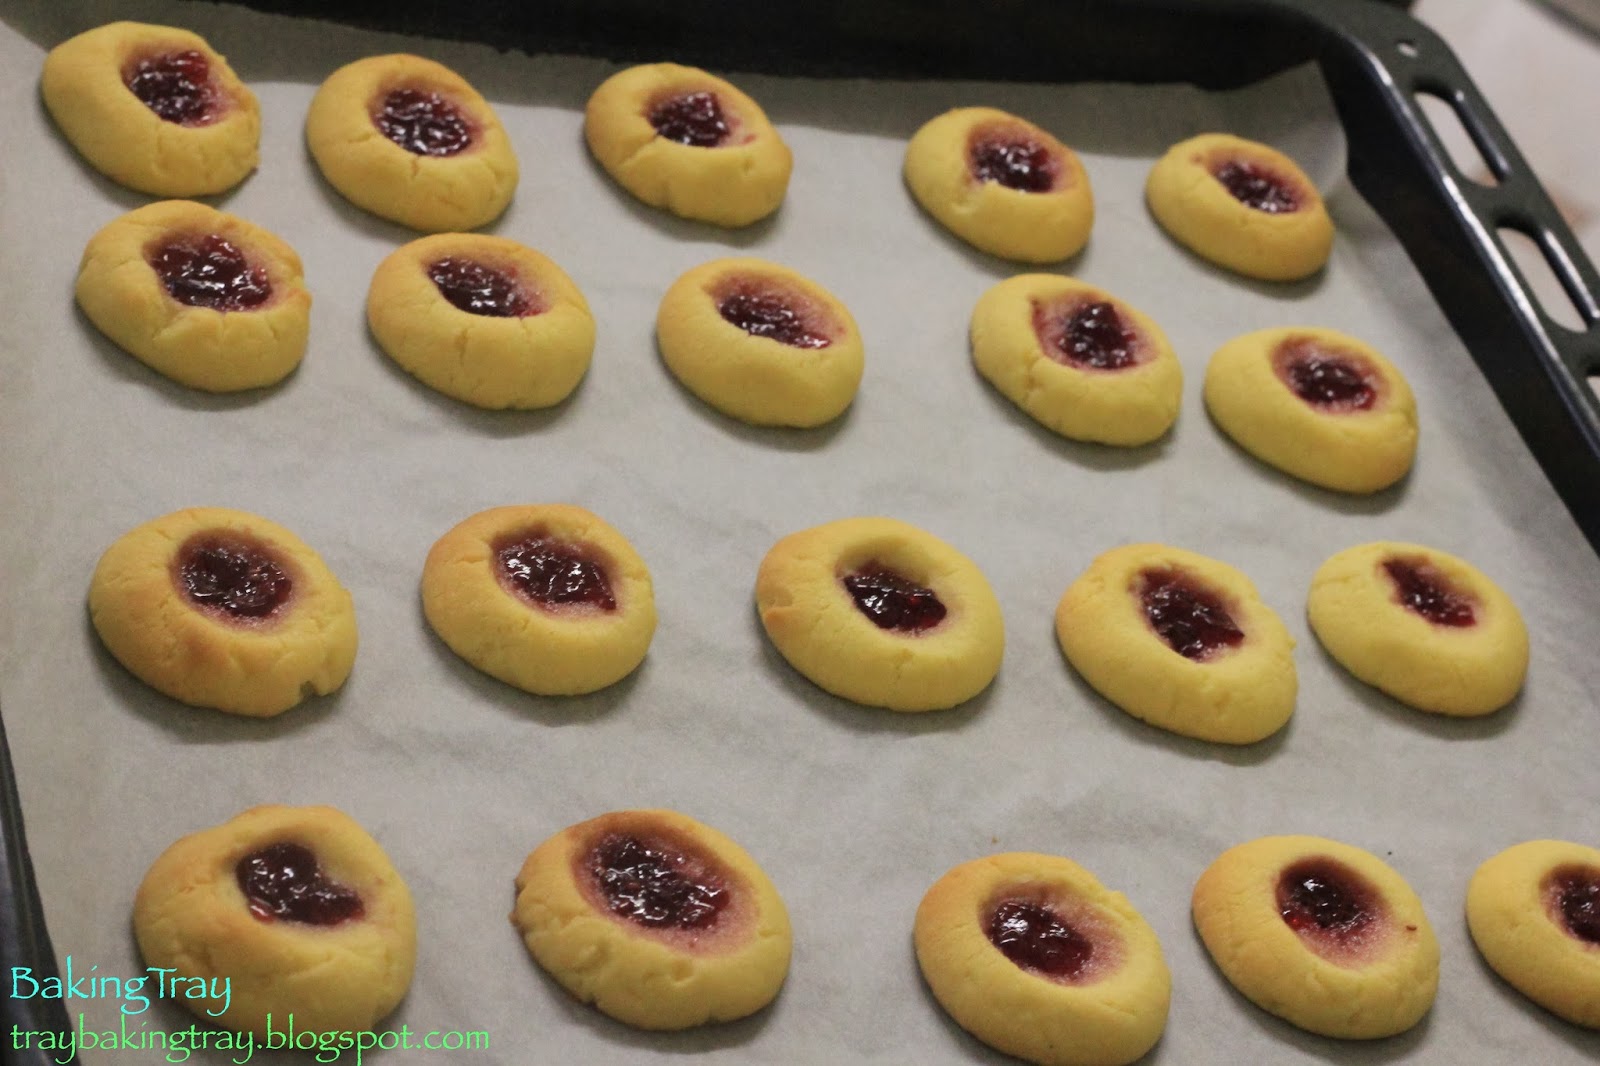
4. Place teaspoons (or tablespoons if you want bigger ones) of cookie dough onto baking trays, allowing room for the cookies to expand. Bake for 12-15 minutes or until golden.

I had a little trouble with the texture of these cookies because the dough was a bit wet so I added in a little more flour to get the consistency I was after. These cookies are the soft cakey type but the coconut really gives it a different texture and taste. This is what it looked like in the book..

Mine were a little different... haha

Anyways as it is still October, I would like to submit this to Aspiring Baker's #36: Choc-a-cookie (October 2013) hosted by Genie of Honeybee916food.