Hi everyone!
Had a fun bake session with my niece today ^^ This recipe was really good for kids! Super simple and the hardest thing was probably microwaving the butter and chocolate. All you need is just need one bowl and one spoon!
These cookies were a great texture: nice and chewy! I sprinkled the top with a bit of salt and that just took the flavour to the next level. As it's school holidays at the moment, maybe you can make these with your kids!
Brownie Cookies
Recipe by Sweetest Menu
Ingredients
150g dark chocolate melts (a block of eating chocolate also works)
75g unsalted butter
200g caster sugar (*EDIT: I made these again recently and reduced the sugar to 180g and it was still nice and sweet)
2 large eggs
105g plain flour
40g cocoa powder
1/2 tsp baking powder
pinch of salt
75g chocolate chips
1. Preheat oven to 180oC (normal oven) or 160oC (fan-forced). Line 2 baking trays with baking paper.
2. Place butter and dark chocolate in large microwave safe bowl. Microwave in 30 second bursts, mixing in between until melted and smooth.
3. Add sugar and mix together. Add in eggs one at a time, mixing after eat addition until well incorporated.
4. Add flour, cocoa powder, baking powder and salt. Stir until smooth.
5. Add chocolate chips and mix well.
6. Spoon tablespoonful of mix onto baking tray (I used a cookie scoop/ice-cream scoop and it was really useful!). Make sure you leave enough room for the cookies to spread. Bake for 13-14 minutes until cookies have spread and cracked on top.
7. Leave cookies on tray to cool completely to cool before eating (I know it can be hard waiting but it's worth it!!). Sprinkle with a bit of salt and enjoy!
If you have a sweet craving, these are quick to make and will definitely satisfy those cravings!
Happy Baking!! Till the next episode... :)
Hi all!
Today we made one of my favourite Korean street snacks: Hotteok!! (호떡) often mispronounced as 'hotdog'..haha but there is a HUGE difference! Hotteok are sweet pancakes filled with an oozy melted cinnamon sugar and sometimes nuts.
They were such a cheap street snack that when I visited Korea a few years ago I ate one everyday!! I've yet to find a place in Australia that does it... (so if you are thinking of starting a food truck then there's an idea for ya!).
I've made hotteok a few times (see recipe here) but this time I used a different recipe (uses milk instead of water and the addition of nuts). I think the texture was better and definitely going to add nuts in the future. Loved the crunch!
It might look or sound hard to make but it's not! Even can make it with a sleeping baby on you ^^
Hotteok (호떡)
Recipe by My Korean Kitchen
Ingredients
1 1/4 cups plain flour
1 tsp sugar
1/2 tsp salt
1 tsp dry yeast
1/2 cup lukewarm milk
cooking oil
Filling
1/4 cup brown sugar
1/4 tsp cinnamon
2 tbs crushed nuts (I used walnuts)
1. Sift the flour into the large bowl. Add sugar, salt, yeast and milk and mix together until a dough is formed. Cover and proof for at least 1 hour.
2. After dough has doubled in size, punch down the dough a few times with your fist to release the gas. Cover and let rest for another 20 minutes. Make the filling by mixing brown sugar, cinnamon and nuts in a small bowl.
3. When the dough is ready, coat your hands in some cooking oil to prevent the dough sticking to your hands. Form the dough into a rough log and divide into 6 dough balls.
4. Put one dough ball into your hand and flatten out. Put about a tablespoon of filling into the centre of the dough and seal the dough to make a ball.
5. Heat a frying pan on medium high heat and put about 1 tbs of cooking oil. Place one ball onto the pan (or more if you have room) and fry for about 30 seconds or until the bottom is slightly golden brown.
6. Flip pancake over and press down using the back of a spatula to flatten the pancake. Place lid on pan and turn heat to low. Cook for 1 minute.
7. Flip pancake one last time and cook for another 30 seconds - 1 minute. Remove pancake from pan. Cook the remaining pancakes.
These are best served hot! But just be careful not to burn your mouth on the melted sugar! Hope you enjoy these as much as I do!
Happy Baking!! Till the next episode...
Hello all!
Today we baked chocolate soufflé live on instagram! A bit sad because I don't know where the video saved...so if you didn't catch it.. sorry there's no replay! But here's the recipe :)
It's super simple and tastes light and fluffy! One thing is that you kinda need to eat it immediately otherwise it will deflate (but I'm sure it'll still tastes great!).
Chocolate Soufflé
Recipe adapted from Donna Hay
Ingredients
2 egg yolks
80ml (1/3 cup) milk
1 Tbs corn flour/corn starch
1 Tbs cocoa powder
55g (1/4 cup) caster sugar
40g dark chocolate melts
3 egg whites
1/4 tsp cream of tartar (*I used lemon juice)
20g unsalted butter, melted
1. Preheat oven to 180oC. Brush 2-3 ramekins with melted butter and dust with cocoa powder.
2. Place egg yolks, milk, corn flour, cocoa powder and caster sugar in small saucepan over medium heat. Whisk until mixture begins to thicken (~3 min). As soon as mixture thickens, add dark chocolate and mix until chocolate is melted and mixture is thicker (~1 min).
3. Transfer to large bowl and refrigerate for 5 min to cool slightly.
4. In a separate bowl, beat the egg whites and cream of tartar/lemon juice until stiff peaks. Remove chocolate mix from fridge. Fold in egg whites one third at a time.
5. Spoon the mixture into the ramekins. Run your finger 0.5cm around the edge of the ramekin. Place the ramekins on a baking tray and bake for 15-18 min or until risen. Dust soufflés with icing sugar and serve immediately.
These would be great for dessert for a dinner party (Once restrictions ease!)! You can eat it with ice-cream, whipped cream or a chocolate sauce!
Hope you guys try it out! Happy Baking :D Till the next episode...
Hello again!
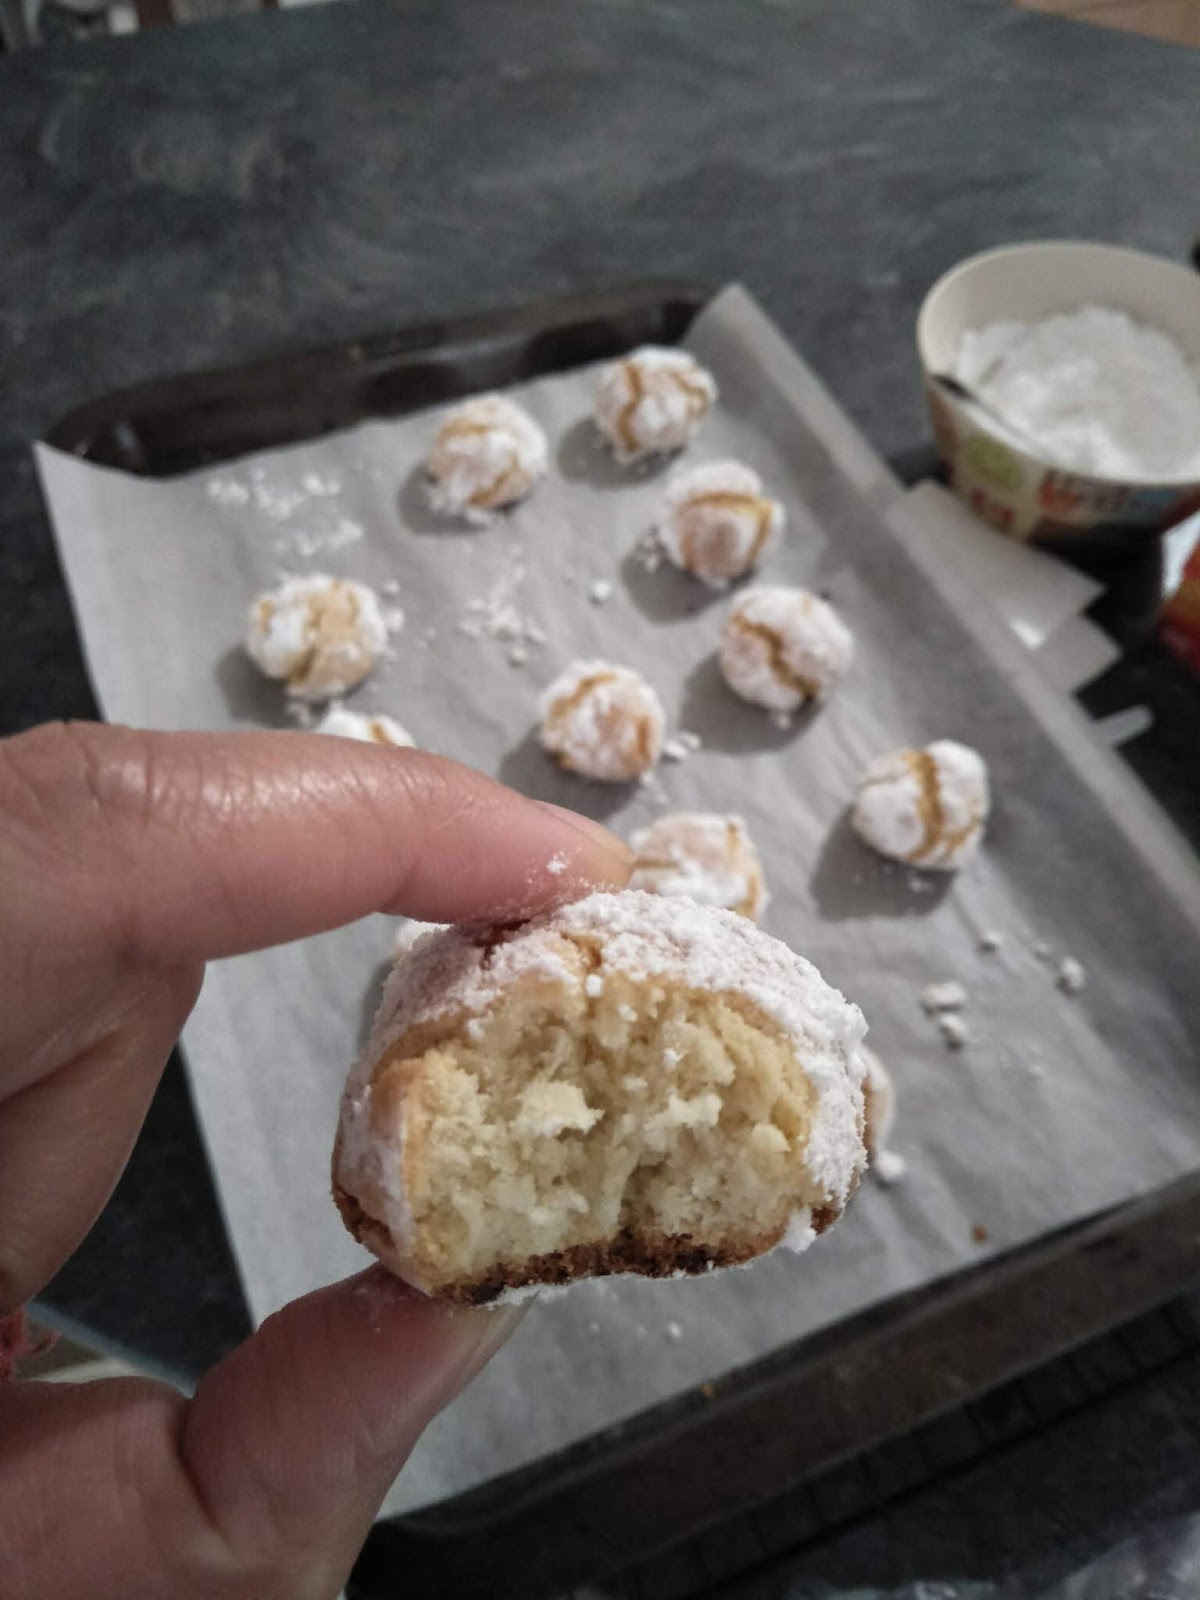
Can't believe we are up to episode 6 already :D wow! After the last episode's semi fail bake, I needed to bake something a little more simple to get my confidence back up! I have actually never eaten amaretti before but a friend baked some and it looked so good so I thought I'd give it a go!
Amaretti are a sweet almondy Italian cookie that have a crispy outside and a soft and chewy inside. They are actually supposed to be slightly bitter (from bitter almonds) but this is a sweeter recipe. Best to be eating with coffee or tea. They only contain 4 ingredients so hope you give it a go too!
Amaretti
Recipe from Breadaheadbakery
Ingredients
1 egg white (30g)
94g caster sugar
150g almond meal
pure icing sugar, for coating
1. Line a baking tray with baking paper. Pre-heat oven to 190oC (mine was fan-forced)
2. Whisk the egg white in a clean bowl (can you a manual whisk or electric beater) until soft peaks.
3. Add caster sugar and whisk until thick and glossy (~1 minute)
4. Using a spatula, mix in almond meal until it turns into a dough.
5. Roll teaspoonsful of dough into balls (or you can make larger ones if you want). Coat balls generously in icing sugar and place on baking tray. (Don't be tempted to dust off extra icing sugar).
6. Bake for 15 minutes or until golden brown and the tops have cracked open.
Loved the taste of my first amaretti and also was easy to bake :) You could do so many different flavours! Maybe next time I'll try matcha!!
Happy Baking :) till the next episode....
Hi all! I've been wanting to make this cheesecake for a while now after seeing so many friends and bloggers make it. It seemed so easy!
It's supposed to be the easiest cheesecake you can make, one that breaks all the rules because there's no biscuit base and you are trying to burn the top!! Funny because when I made it, my top wasn't fully burnt U_U But that's because every oven is different! I'm still learning about my oven with every bake! Now I know where my "hot spots" are in my oven. Will definitely try and bake this again with this new knowledge =)
BUT! A few friends made it with me and it worked out perfectly in their oven :) So I hope you give it a go as well!
Basque Burnt Cheesecake
Recipe adapted from No recipes
Ingredients
250g cream cheese (I used Philadelphia)
100g caster sugar
2 large eggs
1/2 tsp vanilla extract
pinch of salt
236ml thickened cream
15g cake flour (can use plain flour)
1. Preheat oven to 230oC and line 15cm round cake tin with baking paper. (Double the recipe if using a 20cm round cake tin).
2. Place cream cheese in a large mixing bowl. Beat with electric mixer/stand mixer until soft and creamy (~2 min).
3. Add in caster sugar and beat until combined (~1 min).
4. Add in eggs one at a time, beating well after each addition.
5. Add in vanilla, salt and cream and beat until combined.
6. Add flour and beat well until all combined.
7. Pour mix into cake tin and gently tap to allow air bubbles to come to the surface. Bake in oven for 25-30 minutes (really depends on your oven. Mine took 30 minutes). You will know when its ready when the top is a nicely burnt/dark brown, yet still jiggly in the centre. Remove from oven and allow to cool to room temperature. Place in fridge for minimum 4 hours then remove from tin, slice and eat!
The texture was amazing!! Super light and creamy! The burnt portion added a nice flavour as well. One of my new favourite cheesecakes!!
Happy Baking!! Till the next episode...
Hello!
This week on "Baking with Tray" we baked BROWNIES! I mean .... who doesn't like brownies?? Since I discovered this recipe, it has been my go-to brownie recipe. I love it because it's super simple, just one bowl, one spoon and you can customise the toppings. I used frozen mixed berries (fresh would do fine!) and some walnuts. The berries give a nice tang to the sweet chocolatey brownies and the walnuts give a crunchy texture.
These brownies have it all: crispy top and edges, chewy sides and fudgey centres! So hope you guys try it out :D
Mixed Berry Brownies
Recipe adapted from Sweetest Menu
Ingredients
115g unsalted butter
200g dark chocolate melts
100g (1/2 cup) caster sugar
90g (1/2 cup) brown sugar
1 tsp vanilla extract
3 large eggs
70g (1/2 cup) plain flour
20g (1/4 cup) cocoa powder
75g (1/2 cup) milk chocolate chips
125g mixed berries
50g walnuts (optional)
1. Preheat oven to 180oC or 160oC fan forced. Grease and line a 20cm square baking tin.
2. Place butter and dark chocolate in a microwave safe bowl. Microwave until melted (do this in 30 second rounds, stirring after each round. Mine took about 1 minute total). Allow to cool slightly.
3. Add in sugars and vanilla and mix until incorporated.
4. Add in the eggs, one at a time, mixing well after each addition. (You don't want your bowl to be too hot otherwise the eggs will scramble!)
5. Add in the flour and cocoa powder and mix until incorporated.
6. Add in milk chocolate chips and stir well. (You can also choose to add some berries and walnuts at this stage too.) Pour mix into lined baking tin using a spatula to scrape the bowl to get everything out.
7. Place berries and walnuts on top. Gently press down.
8. Bake for 30-40 minutes or until cooked through. You can tell by the crack on the edges and the brownie no longer wobbles. Leave to cool completely before cutting. Dust with icing sugar before serving.
Hope you guys try this out because it really is simple and delicious!!
Happy baking! Till the next episode... :)